
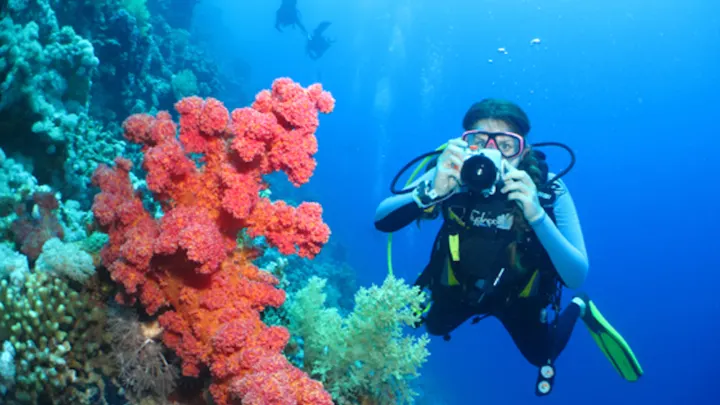
Describe scuba diving? Awesome, calming, therapeutic, delivering a huge feel-happy factor. But, how do you make non-divers get just as excited about it, understand it, want to protect it? By taking underwater photos, of course, and trust me you don’t need to splash out lots of cash to be able to take beautiful, prize-winning underwater photography. Maria Munn tells us more;
But first…
First things first (and I’m sure you’ve heard it a zillion times before) always make sure that you are comfortable with your diving equipment, feel as at ease underwater as you do walking on land with perfect buoyancy techniques to keep our corals, fishy friends and buddies safe. Keep orientated to your profile, dive guides and buddies, boat and keep checking your air. Once you have a camera in hand, it is so very easy to become absorbed by the amazing underwater scenes before you.
After you’ve got all of the above in check, it’s time to revise the basic fundamentals of underwater photography.
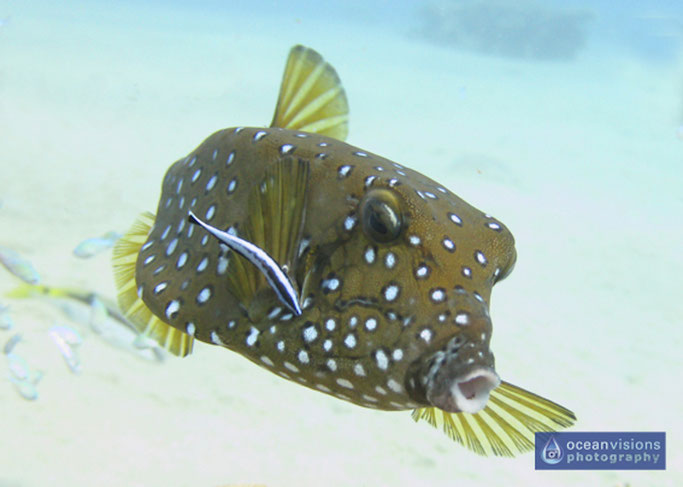
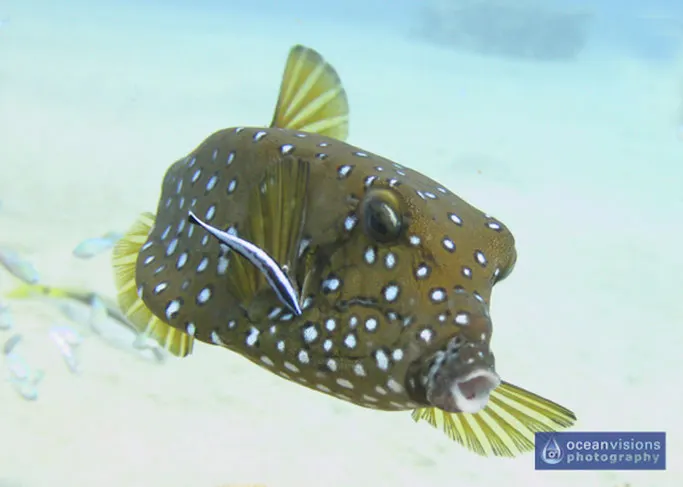
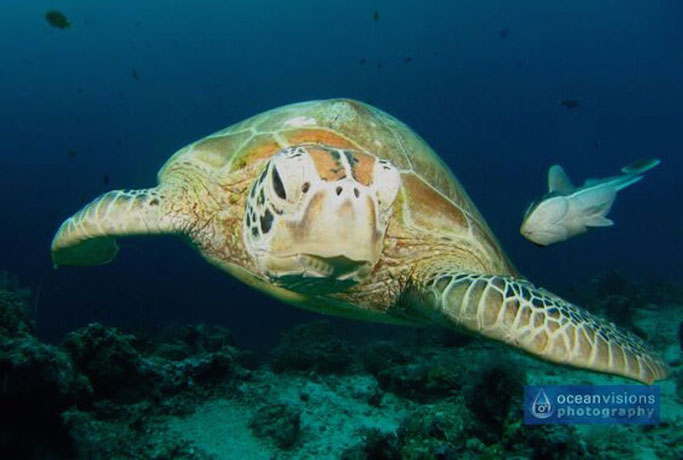
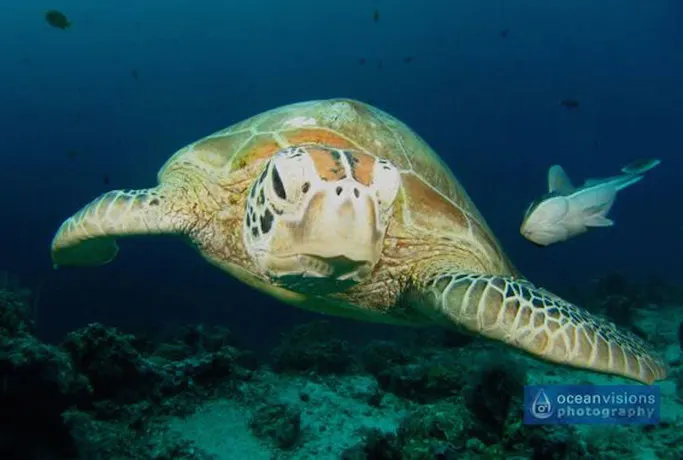
- Remember to get close as water will magnify your subject, making it appear closer, but also remember not to damage the reef, corals, or squash a hidden stonefish in the sand!
- You may have heard that you need to look up, but sometimes there are great opportunities that may be missed if you don’t look down.
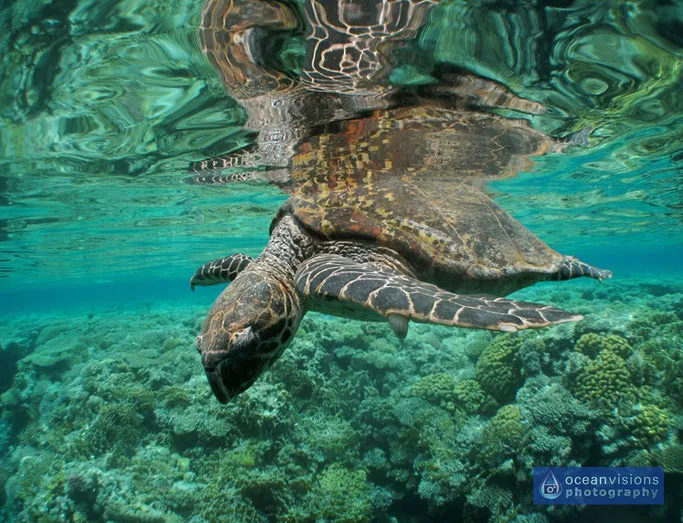
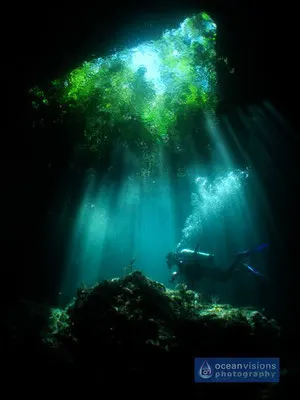
1. The Surface
Don’t forget the best photo opportunities can simply be right here.
Stuck for ideas to add sparkle to your surface shots?
- Dancing light dappling on the sandy surface of the shallows. Use overhanging trees. Keep looking up and you can fit those clouds and blue expanse of sky in too.
- Don’t have a fully manual camera? Simply use your EV minus to help create reflections.
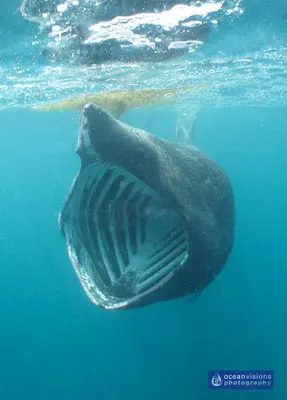
- And don’t forget to pack a wide angle lens if you are going to be bumping into whales, sharks and all creatures large on your journey!

2. Underwater Modes/Red Filters
A superb mode to add punchy colour to your seascapes in shallow water up to 10 ft as well as to your close-up shots of your favourite smaller critters using the macro mode (or microscope mode with the recent Olympus cameras). Just make sure that you don’t use the flash option when capturing large subjects to avoid hotspots in your pictures.
- Keep your ISO low for still subjects, 200 or more for moving ones.
- Using a Red Filter? Great for depths from a few ft up to about 10 ft or so, just remember to keep your flash off to avoid pink-looking subjects.
3. Use Your Built in Flash
Fabulous for bringing out colour and texture, make sure you always use the diffuser to evenly light smaller subjects when you are less than 2 ft away.
- Use a low ISO of 100 for still subjects,
- 200 for moving ones and maybe 400 for night shots to keep your subject sharp.
- Use your camera’s EV minus or increase your shutter speed if you have manual controls to darken your blue background.
4. Wonderful White Balance
A brilliantly easy way to add colour to both the foreground and background of your subject.
- Calibrate your camera at the deepest part of your dive and reset it every time you change depth by 5ms.
- Keep your flash switched off to avoid pink pictures, keep your EV 0 +/- on 0 and always remember to shoot with the sun behind you.
- Have a RAW setting on your camera? You may prefer to re-adjust your colours afterwards in Lightoom or Photoshop.
5. Close-up Lenses
Particularly useful for photographing the tiniest of seahorses, gobies, shrimps and all things super small, these work in a similar way to a magnifying glass to increase the size of your subject in the frame whilst keeping an acceptable distance. An external light source is necessary to help bring out the extra detail that this lens will give you.
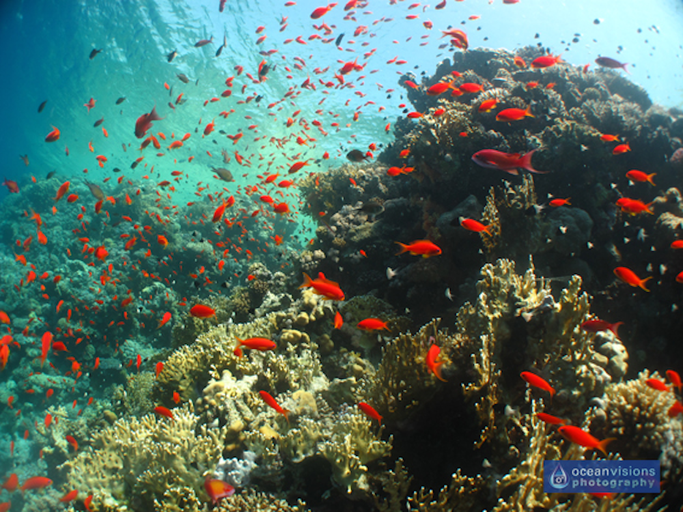
6. Wide Angle/Fisheye Lenses
Essential for all larger scenes like wrecks, caves, seascapes, schooling fish, big animals and even your buddy with the reef, these help to reduce the amount of water between your camera and your subject, therefore keeping it much sharper and more colourful. They can increase your camera’s field of view from 112 degrees through to a whopping 165 degrees possible with a fisheye lens which also gives you a creative edge, making straight lines appear curved underwater.


7. Video Lights
Great for adding light to your photos as well as video. Lights are measured in lumens, Spot Beams are ideal for lighting smaller subjects, flood ones emit larger beams of light ideal for lighting buddies and larger subjects. They can be used to illuminate a close-up subject from behind to create special effects. Remember to be careful with some subjects such as seahorses to avoid damaging their eyesight.
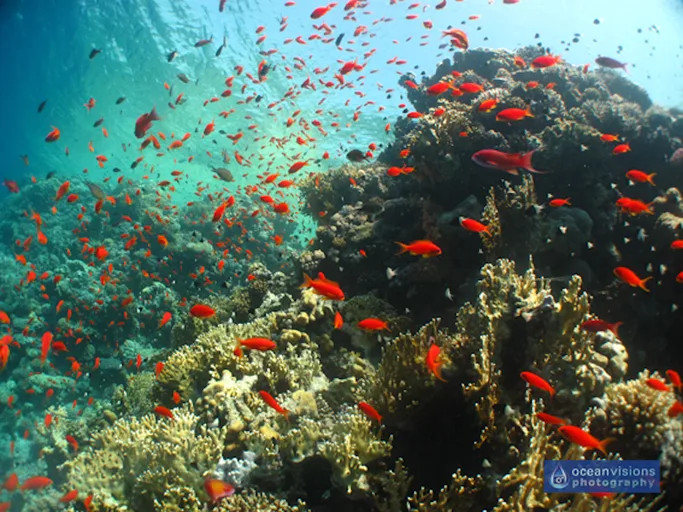
8. Lighting with Strobes
The best accessory for your camera to add lavish, luscious colour and textures to your subjects.
- Most strobes automatically read your camera’s settings and emit enough light to illuminate your scene by using TTL (Through the Lens).
- You can then adjust the power with some models using a dial at the back.
- Manual strobes give more options to get super creative with your lighting techniques.
- Where do you place them? With one, either on a 45 degree angle to the left, or over the middle of your camera which enabled me to light up large reef scenes.
- Using two? You will need to position them away from your camera to evenly light your subject with the edge of each strobe light.
- You could add more strobes to your scene to create really special effects.
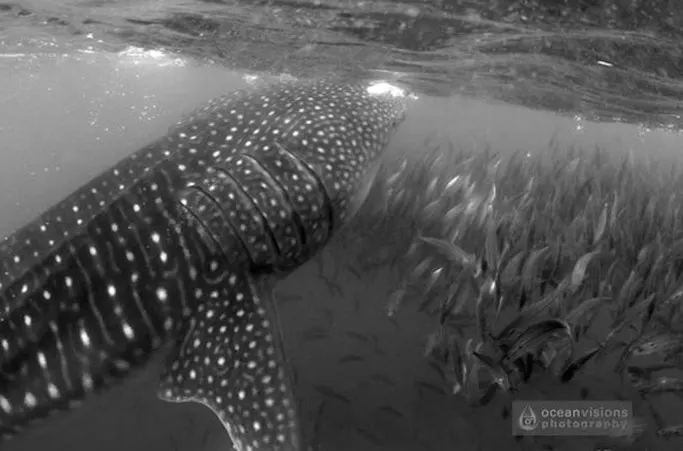
9. Magical Monochrome
Got any blurry, out-of-focus or maybe not as colourful shots as you hoped? Don’t delete them, why not turn them into striking black and white images. See?

10. What to Look for in a New Camera?
- Are you a deep diver? Make sure that your housing is rated to the depths that you’ll be exploring.
- Looking to get creative? Check that you can add lenses onto your system when purchasing.
- Maybe buy a second camera as a back-up if you are diving that once-in-a-lifetime destination just to be sure that you don’t miss any golden photo moments.
- Do you need to buy one with manual controls? Not necessarily, most of these photos were taken without using them and all but one were taken with an everyday compact camera.
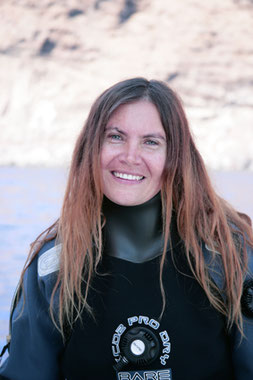
About the Author
Maria was originally scared of going underwater and it took 3 years to overcome that while she travelled around the world learning about sharks with a dSLR and compact camera. Since 2005 she has taught guest underwater photography – 23 of them winning prizes and ran the first ever PADI Digital Underwater Photography Course. She regularly gives talks at the UK’s Dive Shows and pioneered and authored “Underwater Photography for Compact Camera Users” which won Book of the Year in 2010. Since then she went undercover in a shark finning and manta fishing market to collect data to help protect them at CITES in Bangkok in 2012 and recently became a Marine Life Rescue Medic with British Divers. Check out her work!